


Article: How to Use a Hair Bleach Kit at Home: Step-by-Step Guide
How to Use a Hair Bleach Kit at Home: Step-by-Step Guide
Done right, bleaching at home costs about £10 and takes ninety minutes. Done wrong, it costs you the length of your hair. This guide is for anyone bleaching at home for the first time, or anyone who's done it before and ended up with patchy roots, brassy mid-lengths, or chewing-gum ends. We'll cover what's in a hair bleach kit, how to prep, how to mix and apply, how long to leave it on, and the four things people get wrong every time.
What's in a hair bleach kit
A standard at-home hair bleach kit gives you everything you need to lift your natural pigment in one box: bleach powder, developer (the liquid that activates the powder), a mixing bowl, a tint brush, gloves, and instructions. The one variable that actually matters is the developer volume.
- 20 Vol developer: subtle lift, one to two levels. Use for lightening already-light hair or refreshing highlights.
- 30 Vol developer: medium-to-high lift, up to seven levels. The right choice for most people going from medium or dark brown to blonde at home.
- 40 Vol developer: professional use only. Don't touch it at home unless you've done this dozens of times.
The Stargazer Vegan Hair Bleach Kit ships with 30 Vol developer, two 30g bleach powder sachets, a bowl, brush, gloves, and multilingual instructions. One box treats shoulder-length hair.

Vegan Hair Bleach Kit
30 Vol developer, bleach powder, bowl, brush, and gloves. Lifts up to 7 levels. Vegan, made in the UK.
Shop Now →Before you start: the prep checklist
The week before:
- Deep condition twice in the four days before you bleach. Healthy hair lifts more evenly.
- Don't wash your hair for 24 to 48 hours before bleaching. Scalp oils protect against irritation.
- Do a patch test (behind the ear, 48 hours in advance) and a strand test (one section, full process) before you commit.
What you need beyond the kit:
- An old towel and a button-up shirt, so you don't pull anything over freshly bleached hair.
- Petroleum jelly for your hairline and ears.
- A sulphate-free shampoo and a bond-repair conditioner.
- A timer. Not "I'll guess".
- A second pair of hands if you can, especially for the back of your head.
Step 1: Mixing the bleach
Most kits, including the Stargazer kit, use a 1:2 ratio of bleach powder to developer. Read the instructions on your specific kit before you mix anything.
The texture should be like thick Greek yoghurt. If it runs off the brush, add more powder. If you can't move it through your hair, add a touch more developer.
Two rules:
- Mix only what you'll use in the next twenty minutes. Bleach starts oxidising the moment it's mixed.
- Never store mixed bleach in a sealed container. It expands, and the bottle can burst.
Step 2: Sectioning and application
Split your hair into four quadrants with clips: two at the back, two at the front. Start at the back of your head. The back is the coolest area and processes slowest, so it gets the most time.
Apply mid-lengths and ends first. Save your roots for last.
This is the part people get wrong most often. Your roots process faster than the rest of your hair because they sit against your scalp, and scalp heat speeds up the chemical reaction. If you start at the roots, by the time you're done with your ends, your roots have processed for forty minutes and your ends for ten. That's how you end up with hot roots and yellow ends.
Saturate every strand. Use the tint brush, not your fingers. Once mid-lengths and ends are fully covered, go back and do the roots.
Step 3: How long do you leave bleach on hair?
Check every ten minutes by wiping a small section with a damp cloth. You're looking for the colour to lift from red to orange to yellow to pale yellow.
The hard limit is fifty minutes. Never longer, regardless of what your hair looks like.
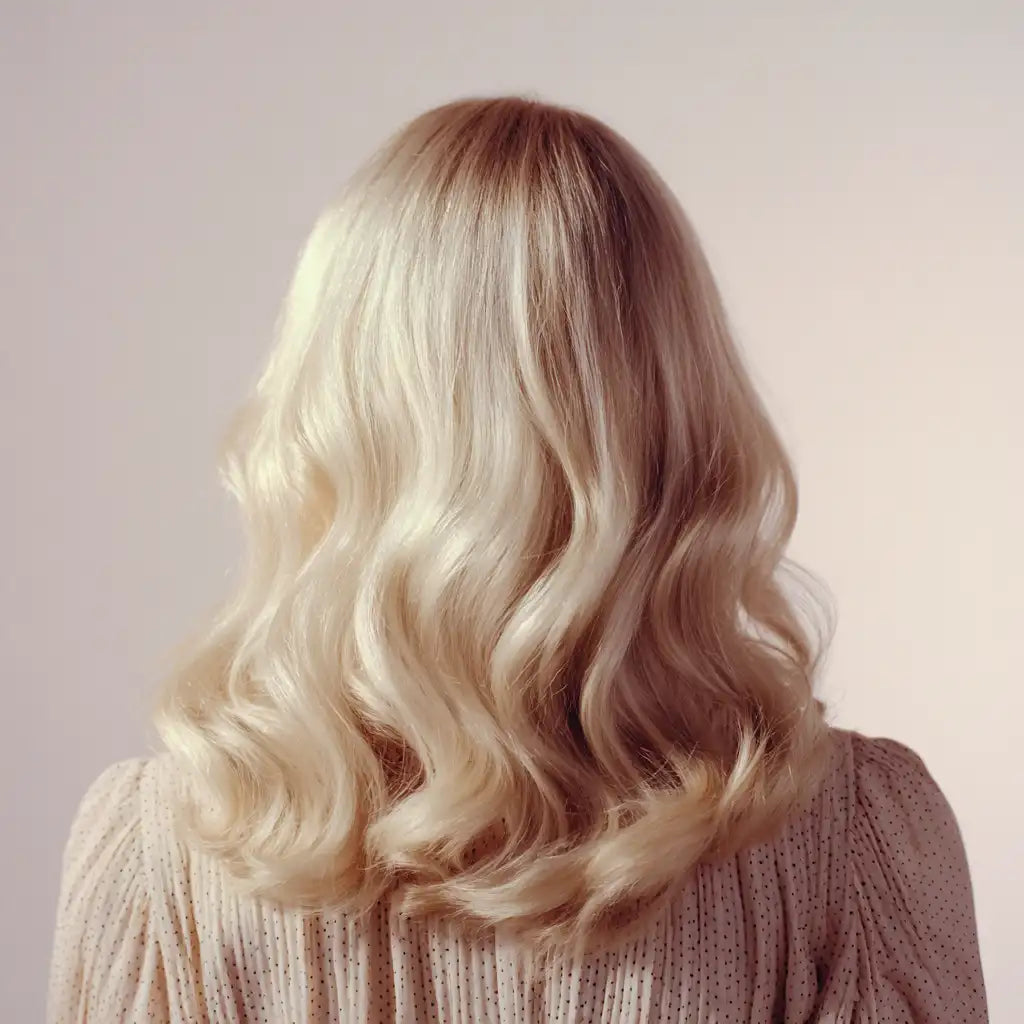
If your hair hasn't reached the level you want by fifty minutes, rinse it out anyway. Wait at least a week, deep condition daily in between, then bleach a second time. This is how you go from black to platinum without losing your hair. Trying to do it all in one session is the single most common reason people end up with breakage.
Step 4: Rinsing and toning
Rinse with cool water until it runs completely clear. Cool water, not warm. Warm water lifts the cuticle and makes already-damaged hair worse.
Wash with a sulphate-free shampoo. Apply a bond-repair conditioner (Olaplex No.3, K18, or any equivalent). Leave it on for ten to fifteen minutes.
If your hair came out brassy or yellow and you wanted cooler tones, apply a purple toner once your hair is dry. If your scalp feels at all sensitive, wait a day before toning.
Step 5: Aftercare for the first two weeks
- No heat styling for forty-eight hours.
- Use sulphate-free shampoo for a minimum of two weeks.
- Bond-repair treatment once a week for the first month.
- Air dry where possible.
- Skip the pool. Chlorine on freshly bleached hair turns it green and dries it out further.
The five most common mistakes
- Going dark to platinum in one session. Two sessions a week apart, every time. There are no shortcuts that don't damage your hair.
- Skipping the strand test. Twenty minutes save you eight weeks of regrowth recovery.
- Leaving bleach on past fifty minutes. "It's not light enough yet" means you bleach again next week, not that you leave it on longer.
- Putting box dye over fresh bleach without waiting. Semi-permanent vivid colour is fine immediately, but permanent box dyes can react unpredictably.
- Buying one kit for long, thick hair. A single 60g kit covers shoulder length. Buy two if your hair is longer, thicker, or you're planning a second session.
Vegan Hair Bleach Kit
Everything covered in this guide, in one box. Enough for shoulder-length hair.
Shop Now →Ready to apply colour?
Once your hair is fully dry and the strands feel cool, you can apply Stargazer semi-permanent dye straight away. Bleached hair holds vivid colour for longer and saturates more intensely than unbleached hair, which is why pre-lightening is the difference between a muddy purple and a vivid violet on darker bases.
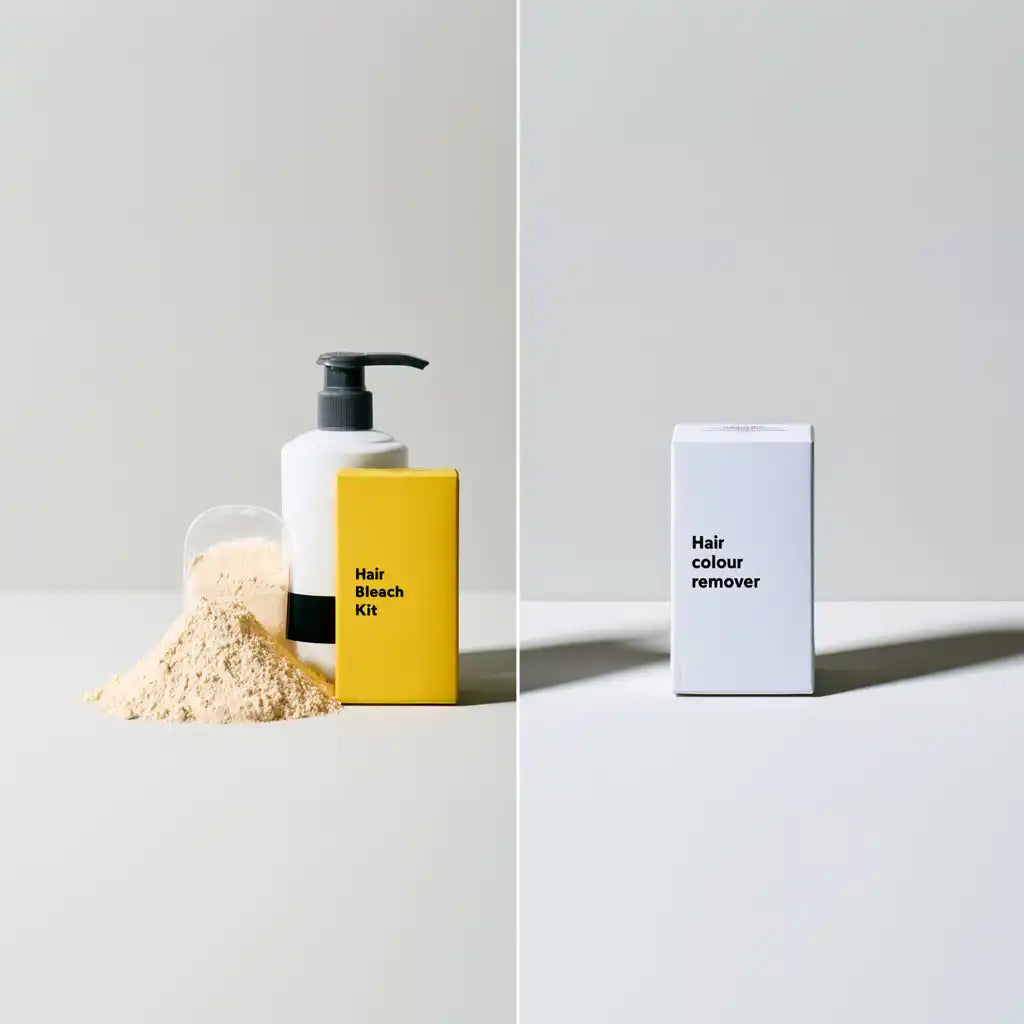
If you're still deciding whether bleach is the right move, read Bleach vs Colour Remover: Which One Do You Actually Need. If you're going from very dark to very light, How to Bleach Black Hair to Platinum Blonde Safely walks through the full two-session approach. And for the science behind why pre-lightening matters, see why bleaching first matters.
FAQs
How long should I leave hair bleach on?
Check every ten minutes. Full lift usually happens between thirty and forty-five minutes. Never leave it on longer than fifty minutes, even if you haven't hit the level you want.
Can I bleach black hair in one session?
No. You can lift up to seven levels with a 30 Vol kit, which takes most black or very dark hair to a yellow-orange. To reach pale blonde or platinum, bleach a second time a week later.
How many kits do I need?
One kit covers shoulder-length hair for a single application. Buy two for longer hair, thick hair, or if you're planning two sessions.
Does bleach damage your hair?
All bleaches cause some cuticle damage. A 30 Vol developer with bond-repair aftercare keeps damage manageable. 40 Vol at home, or skipping aftercare, doesn't.
Is the Stargazer kit vegan?
Yes. No animal-derived ingredients, never tested on animals, made in the UK.
Bleach Done. Now for the Colour.
Explore the Hair Dye CollectionStargazer has been making vivid hair colour in the UK since 1986.

